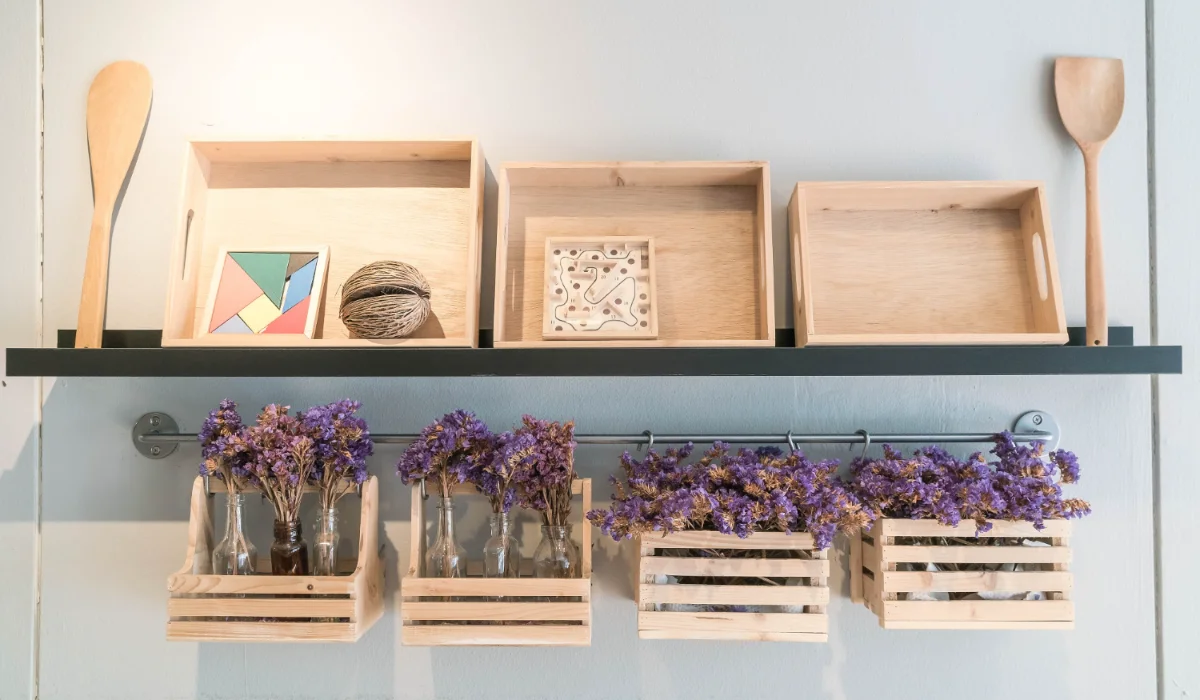
Floating shelves are one of the most popular DIY upgrades for modern homes, and for good reason. They’re practical, visually clean, and surprisingly easy to build without spending a lot of money. Whether you’re trying to add storage to a small flat, improve a hallway, or create a stylish feature wall in a living room, custom floating shelves can make a big difference.
The best part is that you don’t need expensive materials or advanced carpentry skills to get started. With some basic tools, careful measuring, and a bit of patience, you can build shelves that look high-end for a fraction of the retail price.
Why floating shelves are such a smart DIY project
Floating shelves have become a go-to interior feature in modern homes because they combine functionality with minimal design. Unlike bulky shelving units, they don’t overwhelm a space visually, which makes rooms feel more open and organised.
They are especially useful for:
- Small living rooms that need extra storage without clutter
- Kitchens where wall space can be used efficiently
- Bedrooms for decorative displays or books
- Hallways that benefit from light visual storage
Another advantage is flexibility. You can customise the size, spacing, and finish to match your home exactly, rather than relying on standard shop-bought options.
Planning your shelf design before you start
Before picking up any tools, it’s important to decide exactly what you want your shelves to achieve. A little planning goes a long way in avoiding mistakes and wasted materials.
Think about:
- The length and depth of each shelf
- How much weight they need to support
- The wall type (brick, plasterboard, stud wall)
- The overall style of the room
For heavier items like books or kitchenware, you’ll need a stronger internal structure. For decorative use, you can prioritise appearance and lighter construction.
Choosing the right materials on a budget
Material choice is one of the most important parts of building floating shelves. You want something that is strong enough to hold weight but still affordable and easy to work with.
A very common and practical option is using mdf board 18mm, which provides a good balance between strength, cost, and ease of cutting. It also offers a smooth surface that can be painted or finished to match your interior style.
Other materials you might consider include:
- Solid pine for a natural wood look
- Plywood for lightweight strength
- Veneered boards for a premium finish
However, for most budget-friendly DIY projects, MDF remains one of the most accessible choices.
Tools you’ll need for the project
You don’t need a professional workshop to build floating shelves, but having the right basic tools will make the process much easier.
Typical tools include:
- Measuring tape and spirit level
- Drill and wall plugs suitable for your wall type
- Saw (hand saw or circular saw)
- Sandpaper or electric sander
- Screws and brackets (hidden or internal support system)
- Paint or wood finish if needed
Accuracy is key here. Even small measurement errors can make shelves look uneven once installed.
Step-by-step: building your floating shelves
1. Measure and mark the wall
Start by marking exactly where each shelf will go. Use a spirit level to ensure straight lines. Double-check spacing between shelves if you’re installing more than one.
2. Cut your boards to size
Cut your chosen material to the required dimensions. If you’re using MDF or similar board, ensure edges are smooth and even before installation.
3. Install the internal support frame
Floating shelves rely on hidden brackets or a wooden support frame fixed into the wall. This is what gives them strength.
- Drill into wall studs or use strong wall anchors
- Fix the support structure securely
- Make sure it is completely level before continuing
This step is the most important for safety and stability.
4. Attach the shelf boards
Once the support frame is fixed, slide or screw the shelf boards into place. Ensure everything fits tightly without gaps or movement.
5. Finish and style your shelves
Now comes the visual part. Sand any rough edges and apply paint, stain, or sealant depending on your desired finish.
Styling ideas include:
- Minimalist décor with neutral tones
- Books and plants for a natural look
- Kitchen jars and utensils for practical use
- Framed prints or small decorative objects
Common mistakes to avoid
Even simple DIY projects can go wrong if you rush certain steps. Watch out for:
- Poor wall fixing (leading to unstable shelves)
- Incorrect measurements
- Overloading shelves beyond their capacity
- Skipping sanding or finishing steps
Taking your time during installation is more important than speed.
Final thoughts
Building floating shelves is one of the most rewarding and cost-effective DIY projects you can do at home. They improve both storage and aesthetics while allowing full control over size, style, and finish.
Using affordable materials like mdf board 18mm makes the project even more accessible without sacrificing strength or appearance. With careful planning and a bit of effort, you can create custom shelves that look professionally made but cost a fraction of store-bought alternatives.