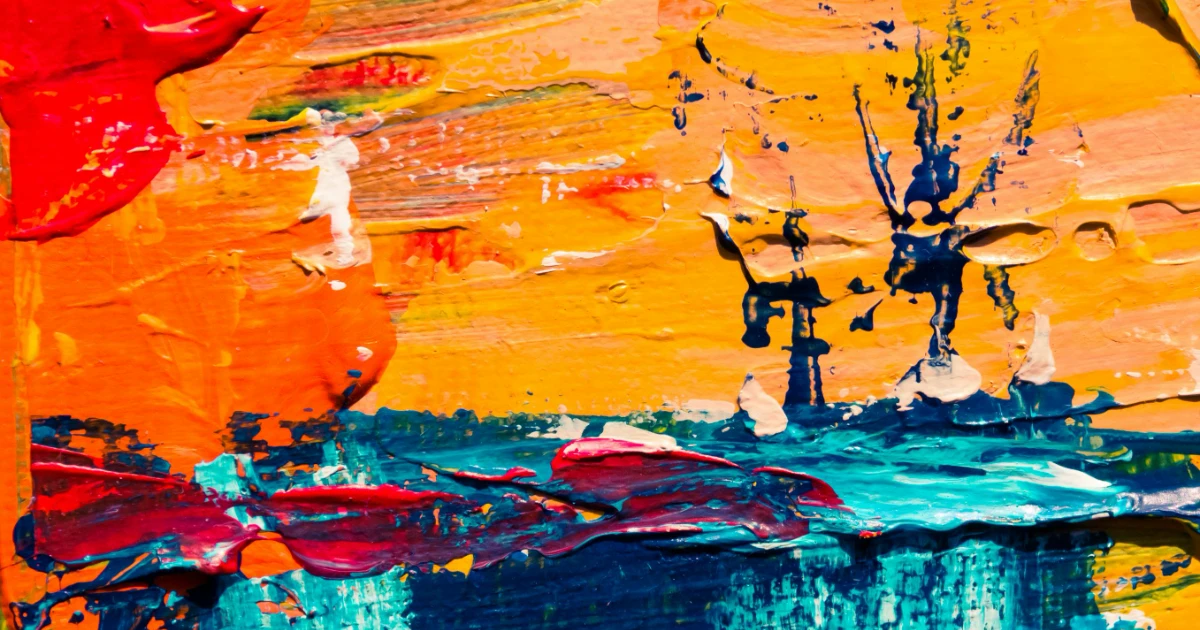
Creating stylish and textured walls no longer requires hiring expensive interior designers or contractors. With the right tools, preparation, and techniques, homeowners can transform ordinary walls into stunning statement features that look professionally finished. DIY wall texture painting has become increasingly popular because it adds depth, personality, and character to living spaces without demanding a huge budget.
Whether you want a modern concrete-inspired finish, a rustic Mediterranean effect, or a subtle textured appearance, there are countless ways to upgrade your interiors creatively. Many homeowners today are experimenting with wall texture paint to give their homes a premium look while still maintaining a personalized touch. The key lies in choosing the right technique and applying it carefully for a smooth and polished result.
In this guide, we’ll explore the best DIY wall texture paint techniques that look professional, along with expert tips to help you achieve impressive results at home.
Why Choose Textured Walls?
Textured walls offer far more than simple visual appeal. They create dimension, hide minor wall imperfections, and instantly elevate the atmosphere of a room. Unlike flat painted surfaces, textured finishes interact with light in unique ways, adding warmth and sophistication.
Benefits of Wall Texture Paint
- Enhances interior aesthetics
- Covers small cracks and uneven surfaces
- Adds depth and character
- Creates luxury-style finishes on a budget
- Works with both modern and classic interiors
- Allows creative customization
From bedrooms and living rooms to office spaces and accent walls, textured paint techniques can dramatically improve the overall appearance of any environment.
Essential Tools and Materials
Before starting your DIY project, gather all necessary tools and supplies. Proper preparation helps achieve cleaner and more professional-looking results.
Basic Tools You’ll Need
- Paint rollers
- Paint trays
- Texture brushes
- Putty knife
- Sponge
- Trowel
- Painter’s tape
- Sandpaper
- Protective drop cloths
- Primer
- Texture paint or joint compound
Choosing high-quality materials is important because premium products provide smoother application and longer-lasting finishes.
Prepare the Wall Properly
Professional-looking textured walls always begin with proper surface preparation.
Steps for Surface Preparation
1. Clean the Wall
Remove dust, grease, and dirt using a damp cloth or mild detergent solution.
2. Repair Imperfections
Fill holes and cracks with wall filler and sand the surface smooth once dry.
3. Apply Primer
A good primer helps the texture adhere evenly and improves paint durability.
4. Protect Surrounding Areas
Use painter’s tape around edges, switches, and trim to ensure neat lines.
Skipping preparation can lead to uneven textures and poor adhesion, so take your time during this stage.
Popular DIY Wall Texture Paint Techniques
1. Sponge Texture Technique
The sponge technique is one of the easiest and most beginner-friendly methods.
How It Works
A natural sponge is dabbed into paint and gently pressed against the wall to create layered patterns and soft texture effects.
Best For
- Bedrooms
- Accent walls
- Cozy living spaces
Pro Tip
Use two complementary paint shades for extra depth and dimension.
This method creates a subtle artistic appearance that resembles professionally finished decorative walls.
2. Knockdown Texture Technique
Knockdown texture is widely used in modern homes because it adds elegance while maintaining a clean look.
How to Create It
- Apply texture compound using a sprayer or roller.
- Let it partially dry.
- Flatten peaks gently using a drywall knife.
Best For
- Large living rooms
- Hallways
- Contemporary interiors
Why It Looks Professional
The soft, flattened texture creates a sophisticated finish similar to luxury residential interiors.
3. Rag Rolling Technique
Rag rolling delivers a soft, layered texture that feels artistic and upscale.
Steps
- Dip a crumpled rag into glaze or paint.
- Roll it lightly over the wall surface.
- Repeat randomly for natural variation.
Ideal Spaces
- Dining rooms
- Reading corners
- Feature walls
This technique produces a rich, fabric-like appearance that adds warmth and texture without overwhelming the room.
4. Brushed Pearl Finish
A brushed pearl texture gives walls a subtle metallic shimmer and refined elegance.
What You Need
- Pearl glaze
- Wide brush
- Metallic paint
Application Process
Brush the glaze in sweeping motions across the wall while maintaining consistent direction.
Perfect For
- Luxury interiors
- Modern apartments
- Stylish office spaces
The reflective finish creates beautiful light effects that instantly make interiors feel more premium.
5. Concrete Effect Texture
Industrial-style interiors remain extremely popular, and concrete textures are a major design trend.
How to Achieve the Look
- Use gray textured paint or plaster
- Apply with a trowel
- Blend uneven strokes naturally
Best Areas
- Loft-style rooms
- Modern kitchens
- Urban-inspired spaces
The imperfect appearance is actually part of the charm, making this technique surprisingly forgiving for DIY beginners.
6. Comb Texture Technique
Comb textures create repeating lines and patterns that add movement to walls.
Process
After applying wet texture compound, drag a comb tool through the surface in curved or straight patterns.
Popular Pattern Ideas
- Waves
- Arches
- Straight lines
- Circular motions
Great For
- Creative interiors
- Kids’ rooms
- Artistic feature walls
This method offers a unique designer look while remaining relatively simple to execute.
Tips for Achieving Professional Results
Even simple techniques can look highly professional when applied correctly.
Work in Small Sections
Textured paint dries quickly, so complete manageable sections at a time to maintain consistency.
Practice First
Always test your technique on cardboard or scrap drywall before working directly on the wall.
Use Consistent Pressure
Uneven pressure can create inconsistent patterns and patchy textures.
Choose the Right Lighting
Natural and artificial lighting can dramatically affect how textures appear. Test your wall under different lighting conditions before finalizing the finish.
Avoid Overworking the Surface
Too much touching or correcting can ruin the texture and create messy results.
Common Mistakes to Avoid
Skipping Primer
Without primer, textures may peel or appear uneven.
Using Cheap Tools
Low-quality rollers and brushes can leave marks and inconsistent finishes.
Applying Too Much Texture
Overly thick texture can crack or appear heavy instead of elegant.
Ignoring Drying Times
Rushing the process often leads to smudging and poor results.
Patience is one of the biggest secrets behind professional-looking DIY textured walls.
Best Paint Colors for Textured Walls
Certain colors enhance textured finishes better than others.
Recommended Shades
- Warm beige
- Soft gray
- Charcoal
- Earthy taupe
- Off-white
- Sage green
- Dusty blue
Neutral shades typically highlight texture details more effectively while maintaining timeless appeal.
Maintaining Textured Walls
Textured walls require simple but regular maintenance to preserve their beauty.
Cleaning Tips
- Use a microfiber cloth for dust removal
- Avoid harsh chemical cleaners
- Spot-clean stains gently
- Repaint damaged areas carefully
Proper maintenance helps textured walls remain visually appealing for years.
Final Thoughts
DIY wall texture painting is an excellent way to upgrade your interiors creatively and affordably. With the right preparation, tools, and techniques, you can achieve results that look stylish, elegant, and professionally designed. From subtle sponge effects to bold industrial concrete finishes, textured walls add personality and depth that standard flat paint simply cannot match.
The best part is that many of these techniques are beginner-friendly and highly customizable. By practicing carefully and paying attention to detail, homeowners can confidently create beautiful textured walls that transform ordinary spaces into visually impressive interiors.